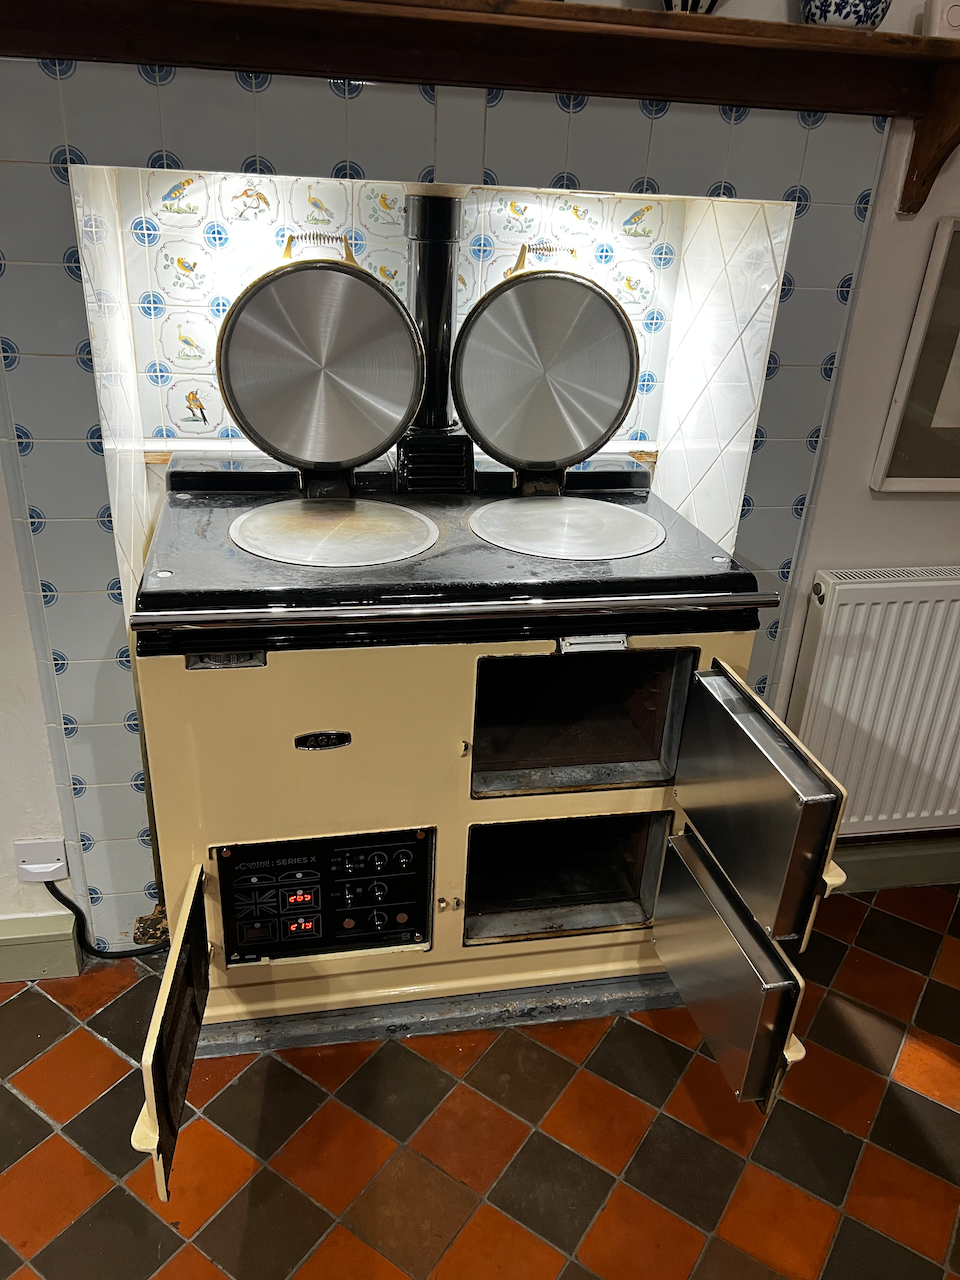
A Solid Fuel Aga Cooker Conversion
One of our more challenging Aga Cooker conversions, but 100% worth it.
Inside their childhood home, this customer's Aga Cooker was originally made to run from solid fuel - easy to spot with the small aperture behind the control door (where the old 'fire door' would have sat) as well as the 'air wheel' at the top left of the front plate.

Converted to oil a decade ago, this model was eventually turned off for around 5 years due to rising costs and inefficiency. After a long discussion about options, and reading all the information on our website, they decided to keep their childhood Aga Cooker but convert to a flexible electric system.
They initially approached local engineers and companies offering the eControl conversion but was turned away, with the advice that it just couldn't be done. A few attempted to immediately 'upsell' them to a new fully refurbished model (at a huge cost!). But after contacting us and explaining their problem, we worked with them to find a solution.
The internals of the Pre Solid fuel (post-conversion) are more-or-less the same as an oil/gas Pre, or a Post model. The only hindrance was the small aperture behind the control door... So, we came up with a solution. To keep their childhood Aga cooker, we would have to cut a notch out of the enamelled front plate to accommodate the new eControl panel - very risky stuff, but we love a challenge.
The main struggles with this eControl Conversion was the seized bolts due to the long time it had been off, and the obvious adjustments needed to the original front plate. After we had stripped the cooker down to the bare bones, the notch was cut out, and new liners fitted to the lids and doors for a fresh feel. We also discovered two old boiler pipes sitting inside the cooker. These were left inside when the internal boiler had been removed some years ago, sucking heat out of the internals and feeding it into a random cupboard upstairs! The flue was also completely blocked, which explains why they had complained of a strong oil smell when it was last turned on - quite dangerous indeed...
Once it was reassembled with the eControl elements and controls, their childhood Aga cooker was whole again - but this time, much safer and much more flexible!
Read more about our eControl Conversions for Aga Cookers here.
Some Further Reading:


