ElectricKit Pre-Install Guide
This guide is made specifically for our own customers. Other conversion systems will have different requirements.
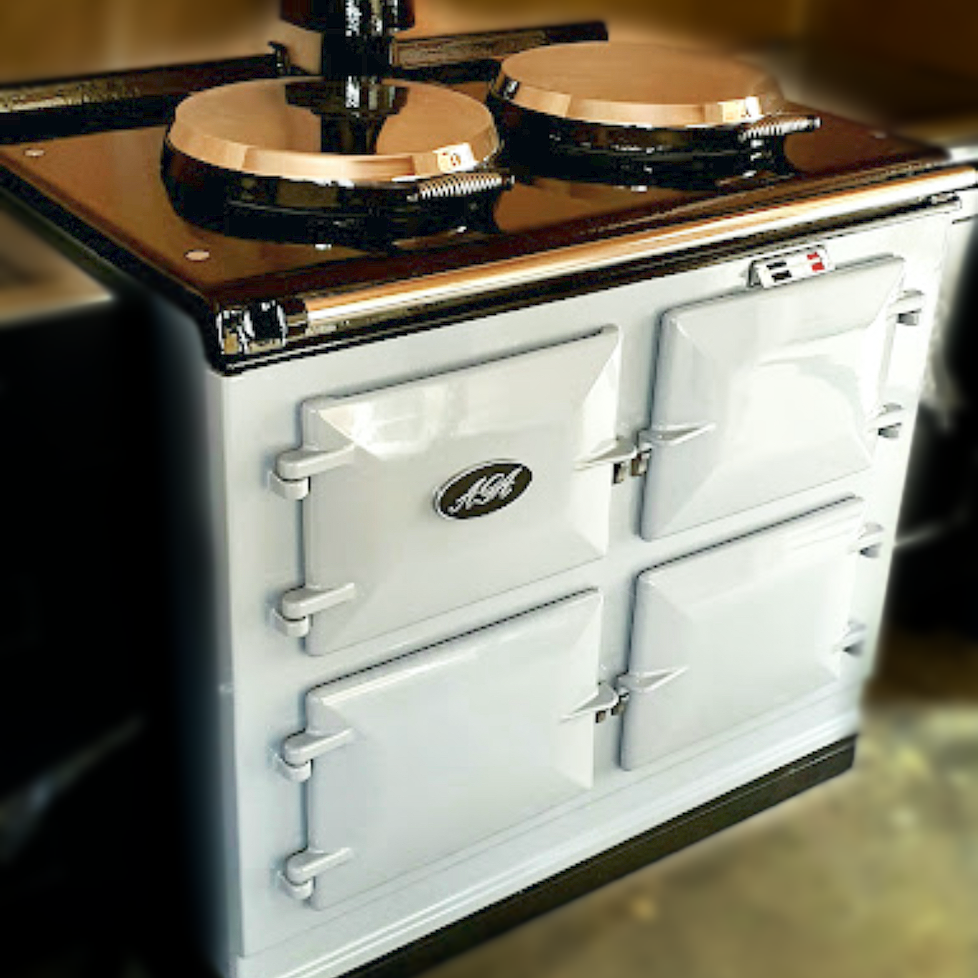
Whether you have chosen the most up-to-date ElectricKit Advanced Conversion, or the manual ElectricKit Classic Conversion, there's some pre-installation requirements that need to be completed before we arrive.
Please make sure these are all completed and in place before we arrive.
If not, and we can't safely complete the conversion/install, we may need to charge for a 'failed install' and reschedule to the next available date in our diary (usually +3 months).
1. Existing Fuel Disconnection
(for conversions)

If you're converting an existing Aga Cooker, your oil or gas line will need to be cut and blanked off before we arrive.
If you have a hot water boiler inside the Aga Cooker, the two 28mm flow pipes coming out of the cooker (usually out of the side panel), will also need to be cut and blanked off at the same time as the oil/gas line.
Do not run the cooker whilst the boiler pipes are disconnected.
This completely isolates the cooker from the system, so that it's ready for dismantling.
2. Electric Requirements
(for conversions and installations)
Depending on your chosen system, you have different electrical requirements:
There are no internal fuses inside the conversion systems
Electric Ratings: Single Phase, 230v, 50Hz
For ElectricKit Classic Installs:
2 Oven Classic:
6kw
1 x 32amp supply, with cooker outlet and isolation switch.
The Aga Cooker uses 6mm x 3 Core H07RN-F cable (internal dimensions).
OR
2 x single fused spur switches - not sockets or plugs.
MK Brand Recommended
The Aga Cooker uses 2 x 2.5mm, 3 Core SiHF cable (internal dimensions).
3 Oven Classic:
6.6kw
1 x 32amp supply, with cooker outlet and isolation switch.
The Aga Cooker uses 6mm x 3 Core H07RN-F cable (internal dimensions).
4 Oven Classic: 6.55kw
1 x 32amp supply, with cooker outlet and isolation switch.
The Aga Cooker uses 6mm x 3 Core H07RN-F cable (internal dimensions).
For ElectricKit Advanced Installs:
2 Oven Advanced: 6.6kW
1 x 32amp supply, with connection point and isolation switch.
The Aga Cooker uses 6mm x 3 Core H07RN-F cable (internal dimensions)
3 Oven Advanced: 8.2kW
1 x 40amp supply, with connection point and isolation switch.
The Aga Cooker uses 10mm x 3 Core H07RN-F cable (internal dimensions)
4 Oven Advanced: 7.2kW
1 x 32amp supply, with connection point and isolation switch.
The Aga Cooker uses 6mm x 3 Core H07RN-F cable (internal dimensions)
4 Oven Advanced (high-temp hot-cupboard): 8.5kW
1 x 40amp supply, with connection point and isolation switch.
Aga uses 10mm x 3 Core H07RN-F cable (internal dimensions).
3. Electric Positioning
Once your electrics are installed, we'll need a photo showing the position relative to the Aga Cooker (or proposed Aga cooker position).
We'll add these to your job file to make sure they're all correct.

Pre-Installation Electrical Requirements:
- We recommend a dedicated supply from your fuse board (check with your electrician, stating the kW ratings for your chosen model above).
- Cooker connection point (or fused spur switches for "2 Oven Classic" models) must be installed prior to the conversion (no plug sockets or bare wires).
- Your connection point(s) can be to the left or the right of the cooker (not behind the cooker, and within 200mm of the side of the cooker).
- The Cooker Outlet Connection Point should be located low-level, below worktop height.
- Electrical work must be carried out to specification by a qualified electrician.
- The isolation switch must allow complete electrical isolation of the cooker by a multi-pole switch.
- The isolation switch must have a contact separation of at least 3mm on all poles.
- We recommend fitting an RCD to the cooker circuit.
- Our conversion engineers don’t have the tools to trace cables through walls or inside cavities.
4. Site Preparations & Dimensions
We'll need a note of any access issues before we arrive - narrow passageways, stairs, steps, parking restrictions etc.
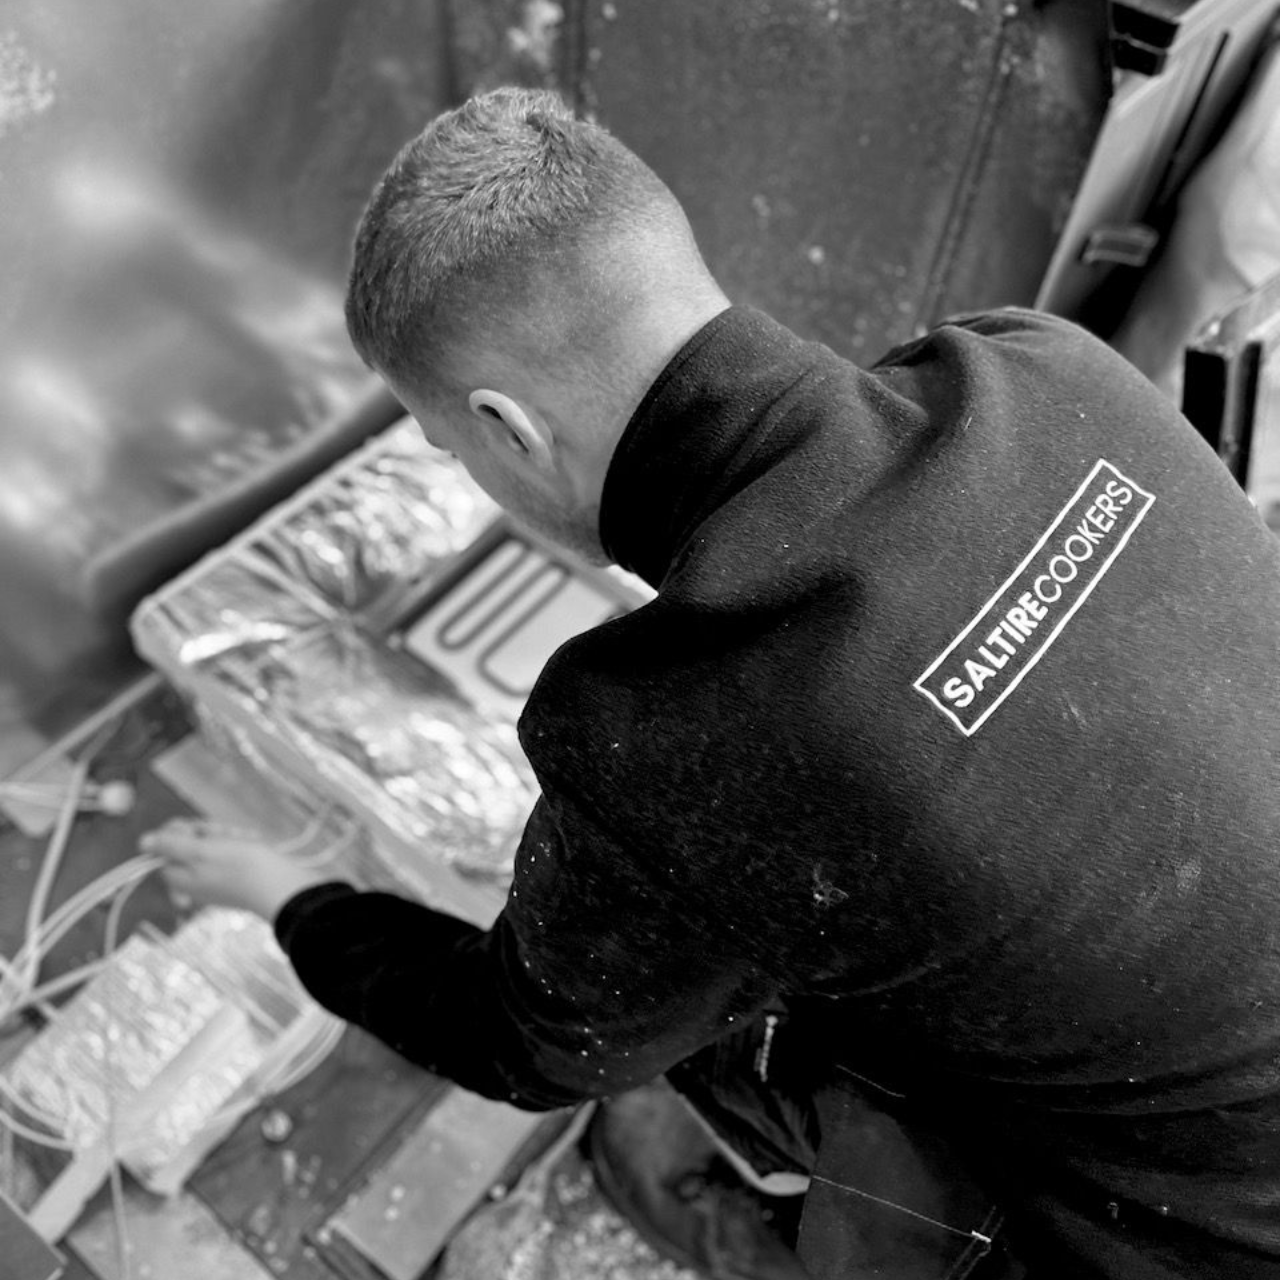
If you're converting an existing Aga Cooker, we'll bring our industrial hoover. We place this outside and snake the 10m hose through the kitchen window to help keep dust down. Please let us know in advance if this won't be possible.
We'll bring floor coverings with us, but there will still be dust, so it's best to tuck away any food or appliances etc.
Dimensions of 2 and 3 oven aga cookers:
3-Oven ElectricKit Advanced models have an additional 30mm depth due to the vents at the back of the cooker.

Dimensions of 4 oven aga cookers:

5. Life After Installation
After installation, we'll give you a thorough run down of the system, how it works and some tips with an opportunity to ask any questions you have. We'll then send you an email summarising the 'quick start' points and a copy of your user guide for future reference.
Your cooker has the same cast iron ovens as the traditional models, but the placement of the electric elements may mean there's a bit of a learning curves ahead. For example, the floor of the roasting oven will be much hotter, and grilling is best done at the top of the bottom oven (closest to the big oven element between the ovens).
Some traditional models run hotter than normal. In these cases, you might find the temperature ranges of the new electric system hotter (or cooler) than other Aga fuel types that you've used in the past. The difference is that you can adjust the hotplate/oven temperatures much more easily than traditional models! Your hotplates can both reach approximately 360c and your roasting oven maximum is 265c - so you shouldn’t have a problem with it being too cool, but it’s worth mentioning.
The hotplates can’t be left on full heat when the lids are closed. On "Classic" systems, the hotplates should be kept at simmering temperature (number 4) or lower when the lids are closed. The thermostats can become stressed when the heat builds up when the lids are closed and fail, leading to an out-of-warranty visit. On "Advanced" kits, the hotplates will automatically reduce down to boiling temperatures if they are accidentally left higher for longer than 3hrs. We recommend keeping these at simmering temperatures to reduce the risks of scorching or overheating. From simmering, the hotplates should heat up to boiling in around 5 minutes (you can close the lids when pre-heating or cooling down after cooking).
The ambient warmth to the room will be reduced compared to traditional 'always on' models. We estimate you will feel at least 40% less heat, but this is due to the ceramic fibre insulating blanket around the ovens etc. The insulation used with the conversion is amazing quality and great for efficiency. Unfortunately, in order to become an efficient, flexible Aga cooker, some reduction in lost heat is to be expected.
There may be some smoke and smells during the ‘burn off’ period. After the conversion is complete, we'll set it to the required Burn Off settings. Once the Aga Cooker is turned on for the first time, the oil on the hotplates will burn off, sealants will cure, and some starch lagging in the insulation blanket will ‘sweat’. This can emit a strong smell and some smoke, but will dissipate after a few hours/overnight. You should also wipe away any condensation drips that form on the front plate asap. Leaving these to dry or sit on the enamel can permanently stain it.
Once the burn off has completed, you can cook to your hearts content. We recommend waiting until smoke and smells stop before using your Aga cooker. We don’t want those sealant smells permeating the food. This can be a few hours after initial firing but in some cases, overnight.
There may be little pieces of vermiculite left after we leave. Especially if it's raining outside. Vermiculite is expanded mineral and can be 'squashed' into the floor if it gets wet. It can be removed with a stiff brush or a mop.
If you've found our information and service helpful (even if you haven't booked in for a conversion with us!), please leave us a review - just click on the TrustPilot Logo.
5-star reviews help us more than you know, and it makes sharing all of this information worth it!
If you ever need anything from us after our installation, just get in touch - we're happy to help.
If you're looking for any recipes or cooking advice from other users, there's a dedicated Facebook Group called 'ElectricKit Agas'.
More Posts From Our Blog: